
VS Code installs GateRook through its own MCP installation dialog and signs in through your browser. GateRook does not edit VS Code's configuration, and no token is written to a file.
Before you start, install GateRook and VS Code. The screenshots come from a local test setup with one MySQL connection, mysql-demo, on the default endpoint. Your connections and endpoint address can differ. Select a screenshot to open it at full size.
1. Choose VS Code and select Connect
Open GateRook and go to AI apps. GateRook lists the AI apps it finds on this computer. Next to VS Code, select Connect.
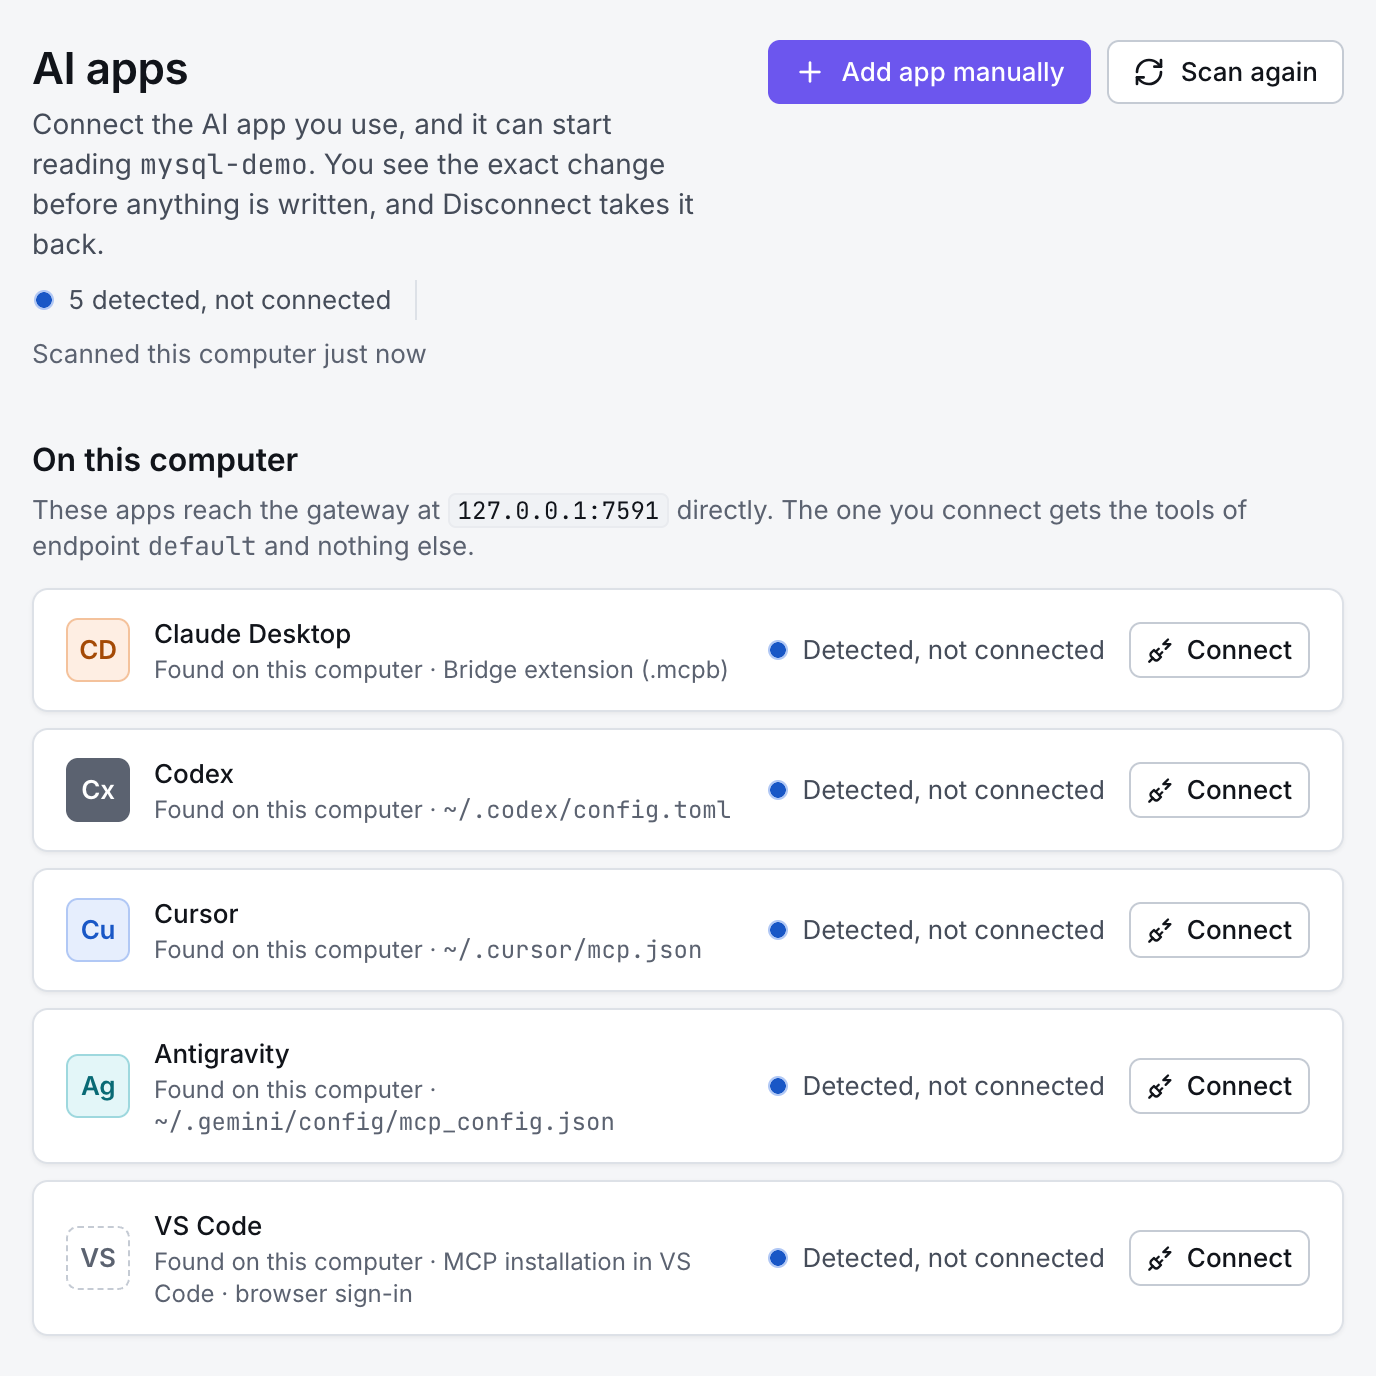
2. Install the server and allow the sign-in
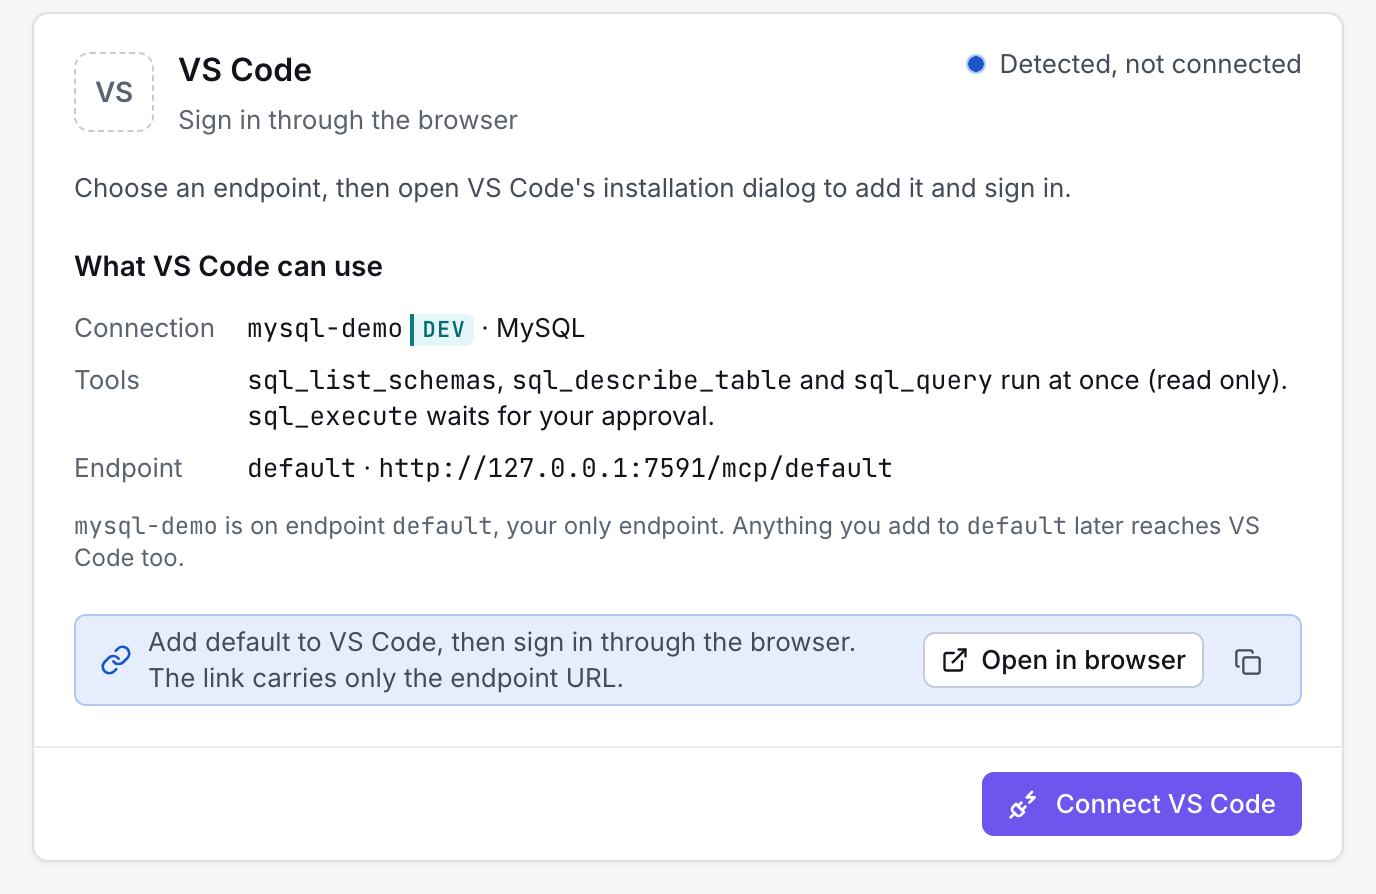
GateRook shows what VS Code can use. Select Connect VS Code. VS Code opens its installation dialog for gaterook-default: select Install, then allow the sign-in when VS Code asks.
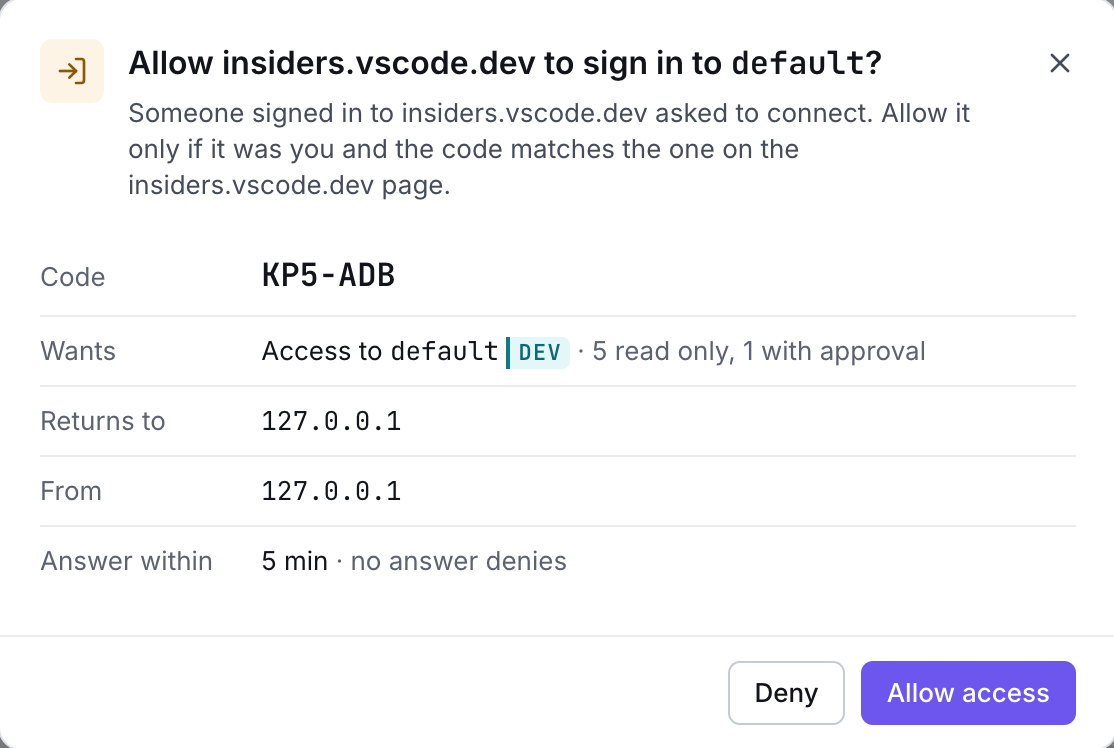
Your browser shows a code, and GateRook asks you to allow the sign-in. GateRook names VS Code by its sign-in address, insiders.vscode.dev, also for stable VS Code. Check that the codes match, then select Allow access.
3. Check the connection with a prompt
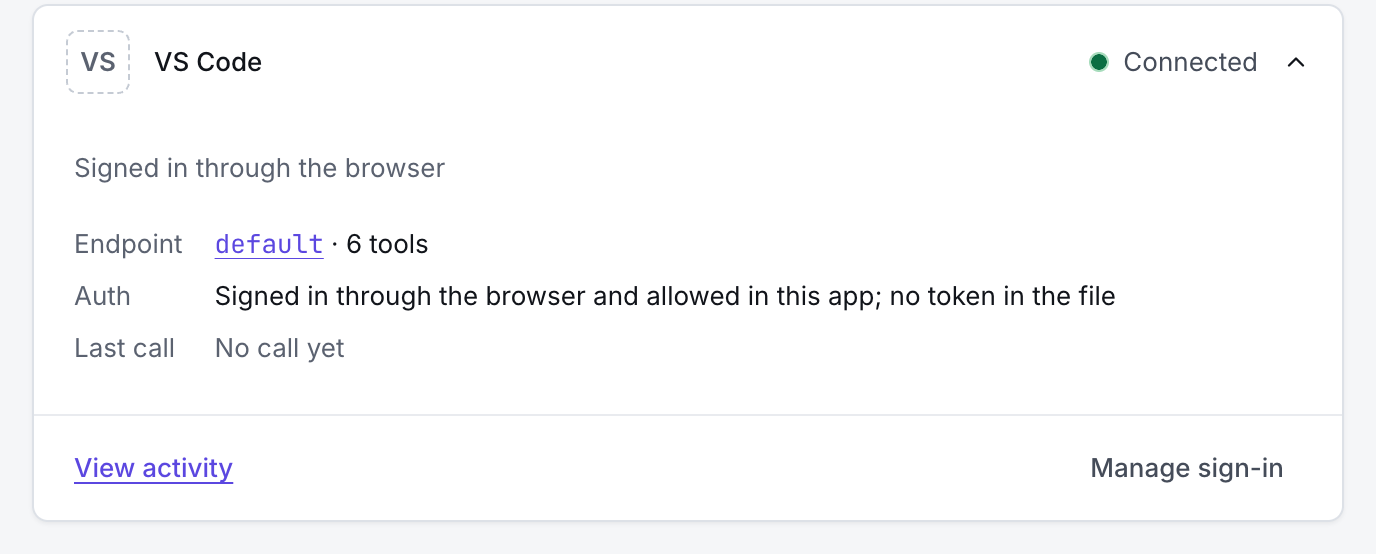
In AI apps, VS Code now shows Connected, signed in through the browser.
In VS Code, open Chat in agent mode, check that the GateRook tools are on, and ask Show me the tables in mysql-demo, with the name of your own connection. Reads run at once, changes wait for you in Approvals, and every request appears in Activity.
Next, give VS Code more to work with: add a database, logs, a cloud account or an MCP server.