
InfluxDB Cloud uses GateRook’s InfluxDB connector. InfluxDB Cloud with an API token.
The screenshots show GateRook 2.0.0: the InfluxDB Cloud form, the endpoint selector, and this connector’s actual tool preview. The form and preview have not been saved. Select a screenshot to open it at full size.
1. Create a connection and enter the settings
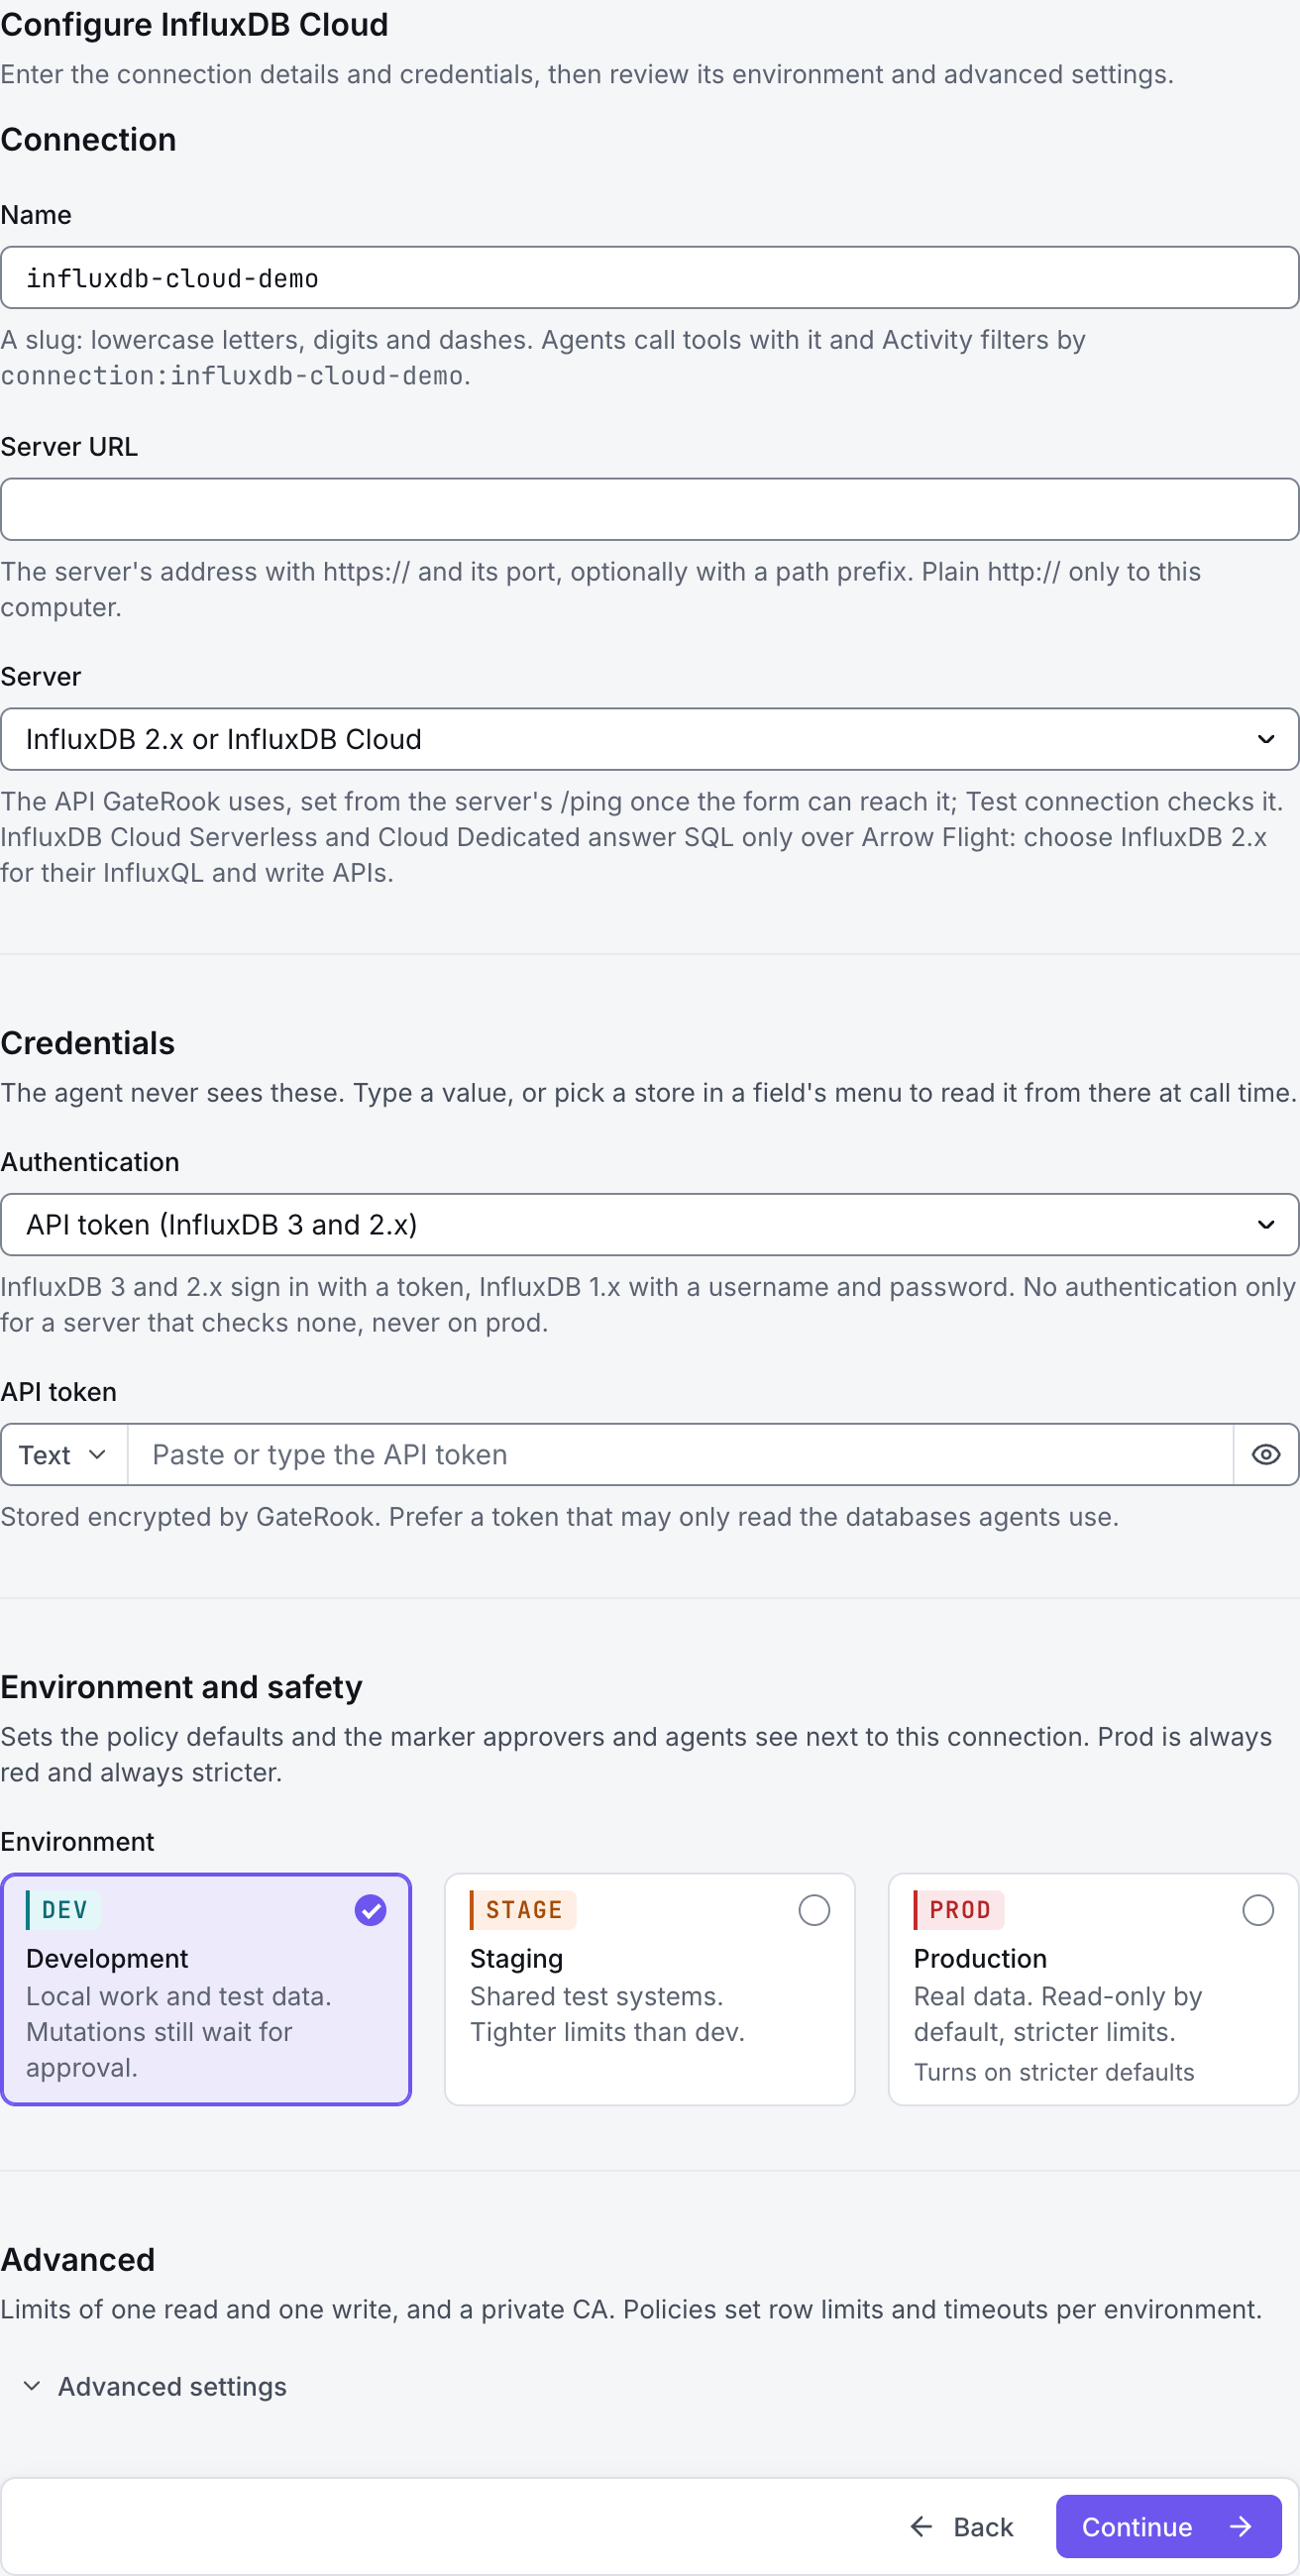
In GateRook, open Connections, select Add connection, search for InfluxDB Cloud, choose its card and select Continue to configure.
Identify your InfluxDB Cloud product, its regional server URL and a token with read access to the required buckets or databases. Different InfluxDB Cloud generations expose different query APIs.
This connection uses the supported HTTP query API. InfluxDB Cloud Serverless and Dedicated use InfluxQL over HTTP here; their SQL-over-Flight path is not the same protocol. For InfluxQL access to a 2.x bucket, prepare the required database/retention-policy mapping.
Enter a Name, for example influxdb-cloud-demo. Your AI app uses this name to choose the connection.
Enter the regional endpoint in Server URL and select InfluxDB 2.x or InfluxDB Cloud under Server.
Select API token (InfluxDB 3 and 2.x) under Authentication, then paste the token into API token. Fill Organization when connecting to a 2.x service that requires it.
Restrict Databases to the intended database or bucket names. Use the database name expected by the service's InfluxQL interface and keep result limits bounded under Advanced.
Choose Development, Staging or Production to match the service. Review the connector’s limit and access settings before continuing.
2. Test the connection and add it to an endpoint
Select Continue to test. GateRook checks the settings from your computer. Review the result and resolve any connection, certificate or permission error before continuing.
Click Continue to test, then run a small InfluxQL read. If a bucket exists but InfluxQL cannot find its database, check the DBRP mapping and token permissions. A SQL or Flux syntax error can indicate a query language that this connection path does not support.
After the test passes, select Continue to add to an endpoint. Choose the endpoint your AI app uses, review its tool modes, then select Save connection. GateRook offers default as the starter endpoint.

3. Use the connection from your AI IDE
After saving InfluxDB Cloud on the endpoint and passing its connection test, ask your AI app to use influxdb-cloud-demo, or the name you chose. If its tools are missing, confirm the endpoint assignment and refresh the MCP connection or start a new chat.
The preview below shows this connector’s default tools before saving. The table explains what each tool can do; connection settings, credentials and endpoint policies can restrict access further.
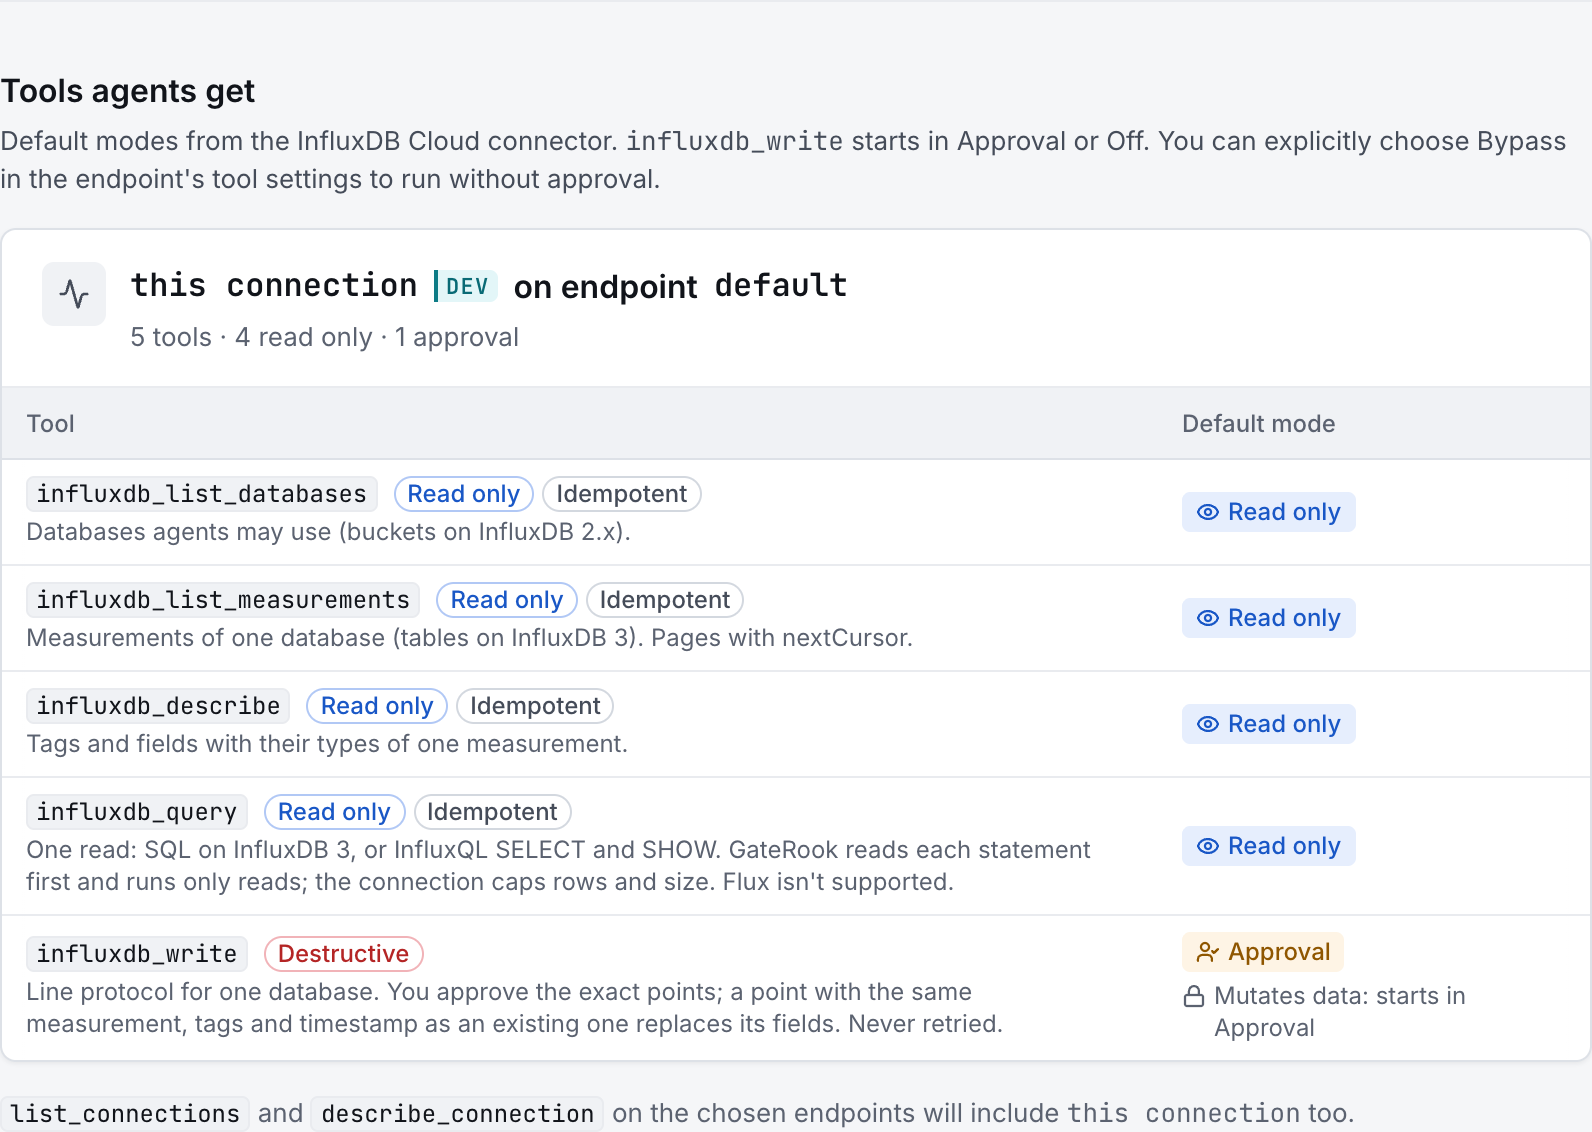
Start with a small read request. Replace example resource names with existing resources your connection may access. Open Activity after the call to inspect its connection, tool, arguments, policy decision and result metadata.
Ask your AI, for example
- “List the measurements available in the permitted database.”
- “Show at most 20 recent points from one measurement, with a narrow time range.”
- “Calculate a five-minute average for one numeric field over the last hour using InfluxQL.”
| Tool | What it does | Starts as |
|---|---|---|
influxdb_list_databases | Databases agents may use (buckets on InfluxDB 2.x). | Read only |
influxdb_list_measurements | Measurements of one database (tables on InfluxDB 3). Pages with nextCursor. | Read only |
influxdb_describe | Tags and fields with their types of one measurement. | Read only |
influxdb_query | One read: SQL on InfluxDB 3, or InfluxQL SELECT and SHOW. GateRook reads each statement first and runs only reads; the connection caps rows and size. Flux isn't supported. | Read only |
influxdb_write | Line protocol for one database. You approve the exact points; a point with the same measurement, tags and timestamp as an existing one replaces its fields. Never retried. | Approval |
You can change each tool’s mode on the endpoint. Every call your AI makes appears in Activity.