
Qdrant Cloud uses GateRook’s Qdrant connector. A cluster's URL with port 6333 and a database API key; a read-only key for agents that only search.
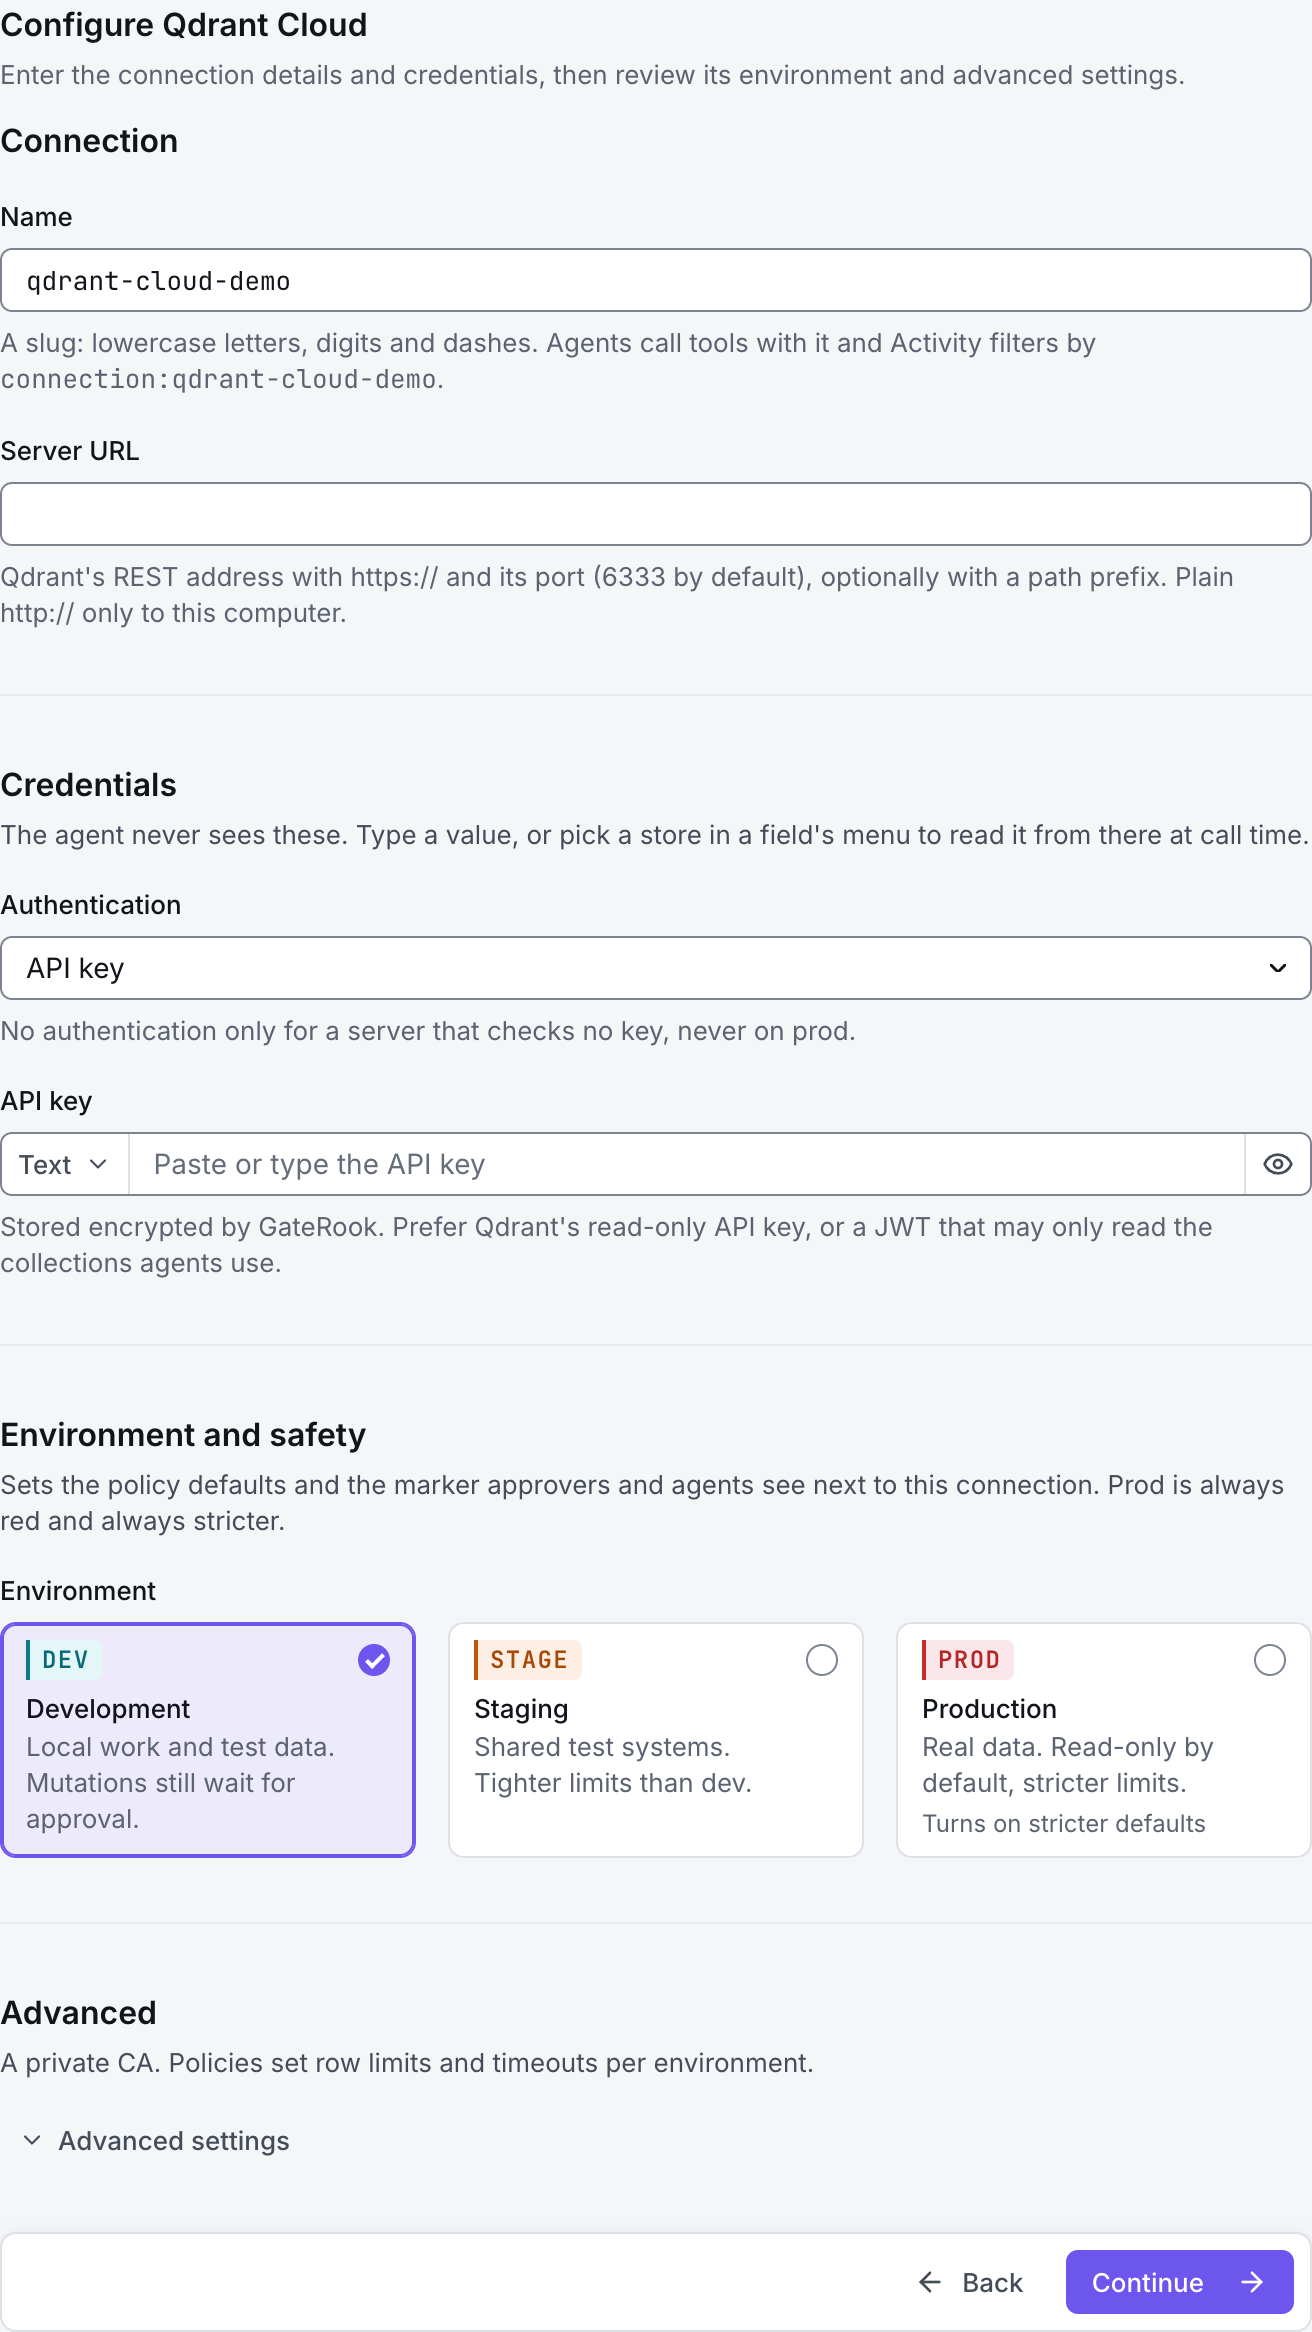
The screenshots show GateRook 2.0.0: the Qdrant Cloud form, the endpoint selector, and this connector’s actual tool preview. The form and preview have not been saved. Select a screenshot to open it at full size.
1. Create a connection and enter the settings
In GateRook, open Connections, select Add connection, search for Qdrant Cloud, choose its card and select Continue to configure.
Copy the Qdrant Cloud cluster URL and create a database API key scoped to the collections and read operations you need.
Use a database key for data access. A Qdrant Cloud management key authorizes cloud administration and is not interchangeable with a cluster database key.
Enter a Name, for example qdrant-cloud-demo. Your AI app uses this name to choose the connection.
Enter the cluster's HTTPS REST endpoint in Server URL, preserving the port from the console. Qdrant Cloud supports REST access on its documented REST ports; do not use the gRPC endpoint.
Set Authentication to API key and fill API key with the database key.
Restrict Collections to the intended collection names. Leave CA certificate (PEM) empty for the usual publicly trusted Cloud endpoint.
Choose Development, Staging or Production to match the service. Review the connector’s limit and access settings before continuing.
2. Test the connection and add it to an endpoint
Select Continue to test. GateRook checks the settings from your computer. Review the result and resolve any connection, certificate or permission error before continuing.
If authentication is rejected, confirm that the key belongs to this cluster and permits database reads. If TLS or HTTP requests fail, check the REST endpoint and port rather than substituting the gRPC port.
After the test passes, select Continue to add to an endpoint. Choose the endpoint your AI app uses, review its tool modes, then select Save connection. GateRook offers default as the starter endpoint.

3. Use the connection from your AI IDE
After saving Qdrant Cloud on the endpoint and passing its connection test, ask your AI app to use qdrant-cloud-demo, or the name you chose. If its tools are missing, confirm the endpoint assignment and refresh the MCP connection or start a new chat.
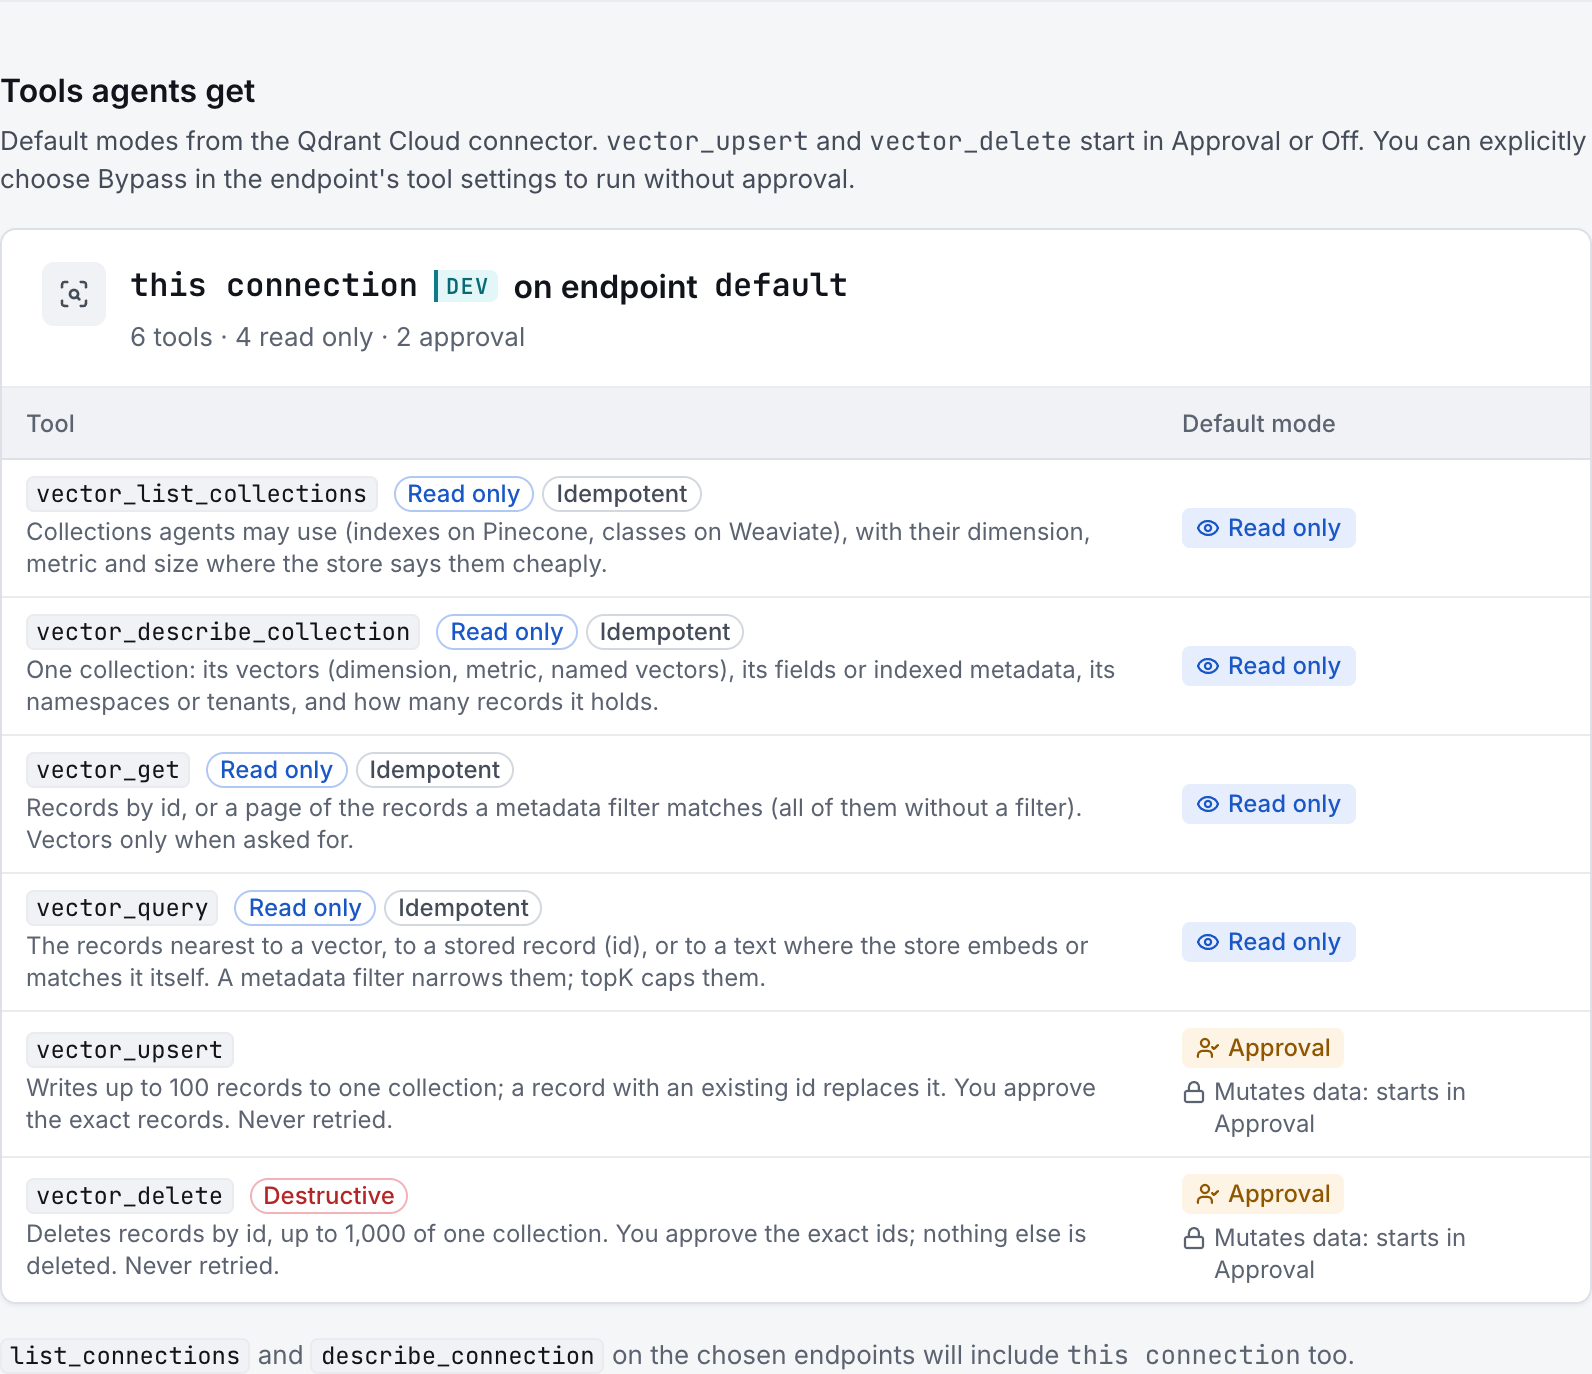
The preview below shows this connector’s default tools before saving. The table explains what each tool can do; connection settings, credentials and endpoint policies can restrict access further.
Start with a small read request. Replace example resource names with existing resources your connection may access. Open Activity after the call to inspect its connection, tool, arguments, policy decision and result metadata.
Ask your AI, for example
- “List the Qdrant collections this key can access.”
- “Describe the vector configuration and payload indexes of one collection.”
- “Scroll through at most 10 points matching a payload filter and omit vector data.”
| Tool | What it does | Starts as |
|---|---|---|
vector_list_collections | List the permitted Qdrant collections. | Read only |
vector_describe_collection | Show a collection’s status, point count, vector dimensions and metrics, named and sparse vector configuration, and indexed payload fields. | Read only |
vector_get | Fetch points by unsigned integer or UUID ID, or scroll a bounded page using a payload filter. Include vectors only when requested. | Read only |
vector_query | Find nearest points using a vector or an existing point ID, with a payload filter and topK limit. Select a vector name when needed; text input is not supported by this connector. | Read only |
vector_upsert | Writes up to 100 records to one collection; a record with an existing id replaces it. You approve the exact records. Never retried. | Approval |
vector_delete | Deletes records by id, up to 1,000 of one collection. You approve the exact ids; nothing else is deleted. Never retried. | Approval |
You can change each tool’s mode on the endpoint. Every call your AI makes appears in Activity.